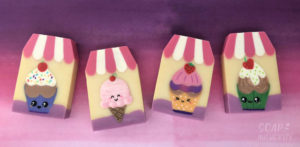
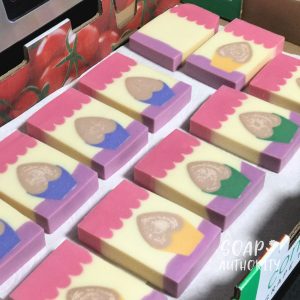
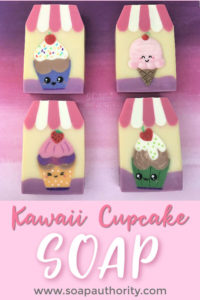
Making kawaii cupcake inlaid soap using 100 percent cold process soap.
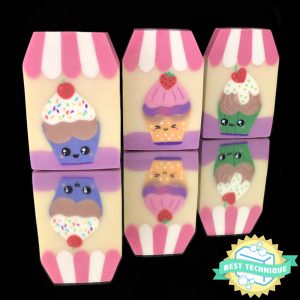
This soap project is a combination of several inlaid soap techniques used to achieve detail not possible with other methods of design.
Goal
The goal with this soap making project was to use several different soap making techniques to achieve a flat inlaid type of design using three different methods. The three elements in for creating kawaii cupcake inlaid soap: embedded soap, pouring wet soap into carved soap bars, and using soap dough.
Preparation
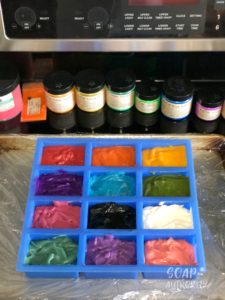
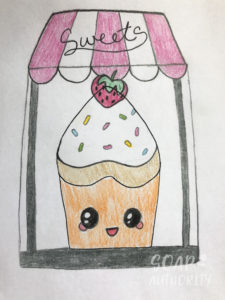
I started out making one large batch of soap dough divided and mixed into 12 colors. Next, I whipped up a drawing of my design concept.
Embeds
My cupcake was made using a heart shaped silicone column mold. I added a touch of brown pigment for color and used an almond scented fragrance oil that would discolor to a light tan.
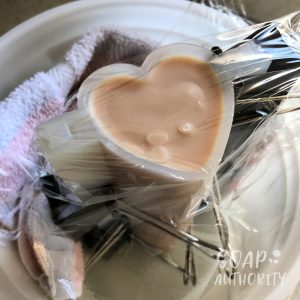
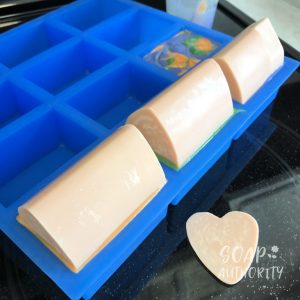
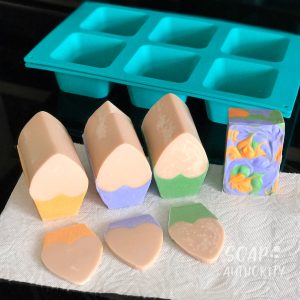
The cupcake liners were made by cutting the heart soap into three pieces and placing them into 3 separate single bar molds each colored with 3 different colors.
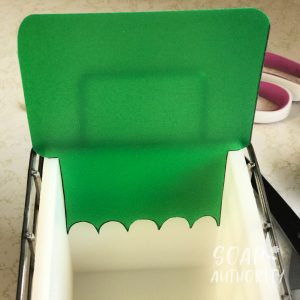
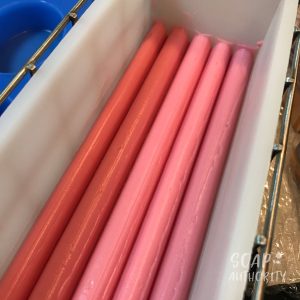
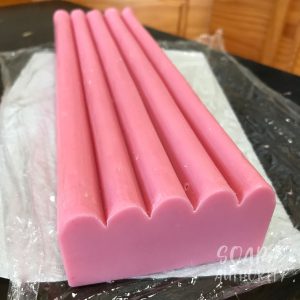
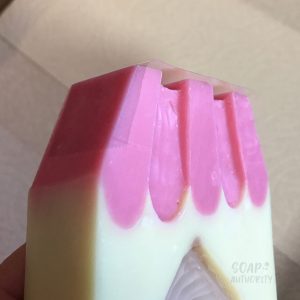
The canopy was made by pouring pink soap into my silicone loaf mold, waiting for it to set up slightly and scraping across it with a template cut from a thin cutting mat.
Main Soap
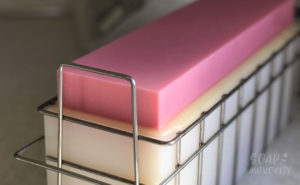
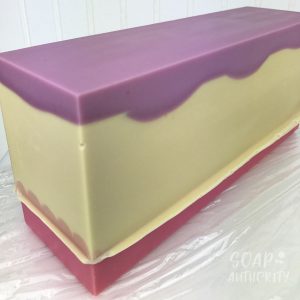
For the main batch of soap, I divided it into two containers and colored one lavender for the bottom. My cupcake embeds were placed in this base of purple after it set up a little bit. Then, I added the second container of soap over the top of the cupcake embeds. That second pouring of soap was scented with a vanilla almond that turns a beautiful light shade of yellow, so no color needed for that part.
After the soap was poured over the cupcakes, I squished the soap scrapings from the vanilla almond soap into the indentations in the canopy to help prevent air pockets. After that, I placed it on top of my poured soap.
Cutting the Soap
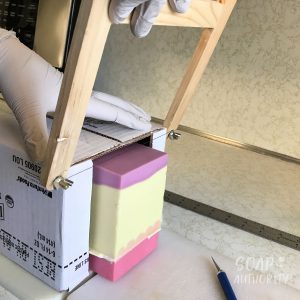
Dang! These bars were so huge, I had to cut up a cardboard box to make a guide for one of my wire cutters. It took me a long time to cut them trying to get them straight. They didn’t come out as consistent and even as I had hoped, so I used my acrylic planer to even them out more.
Wet Soap Inlays
To cut out the areas for frosting and the canopy stripes, I used a Sculpey clay kit. For the cupcake frosting, I made paper templates covered with box tape to trace around.
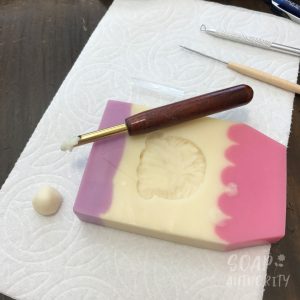
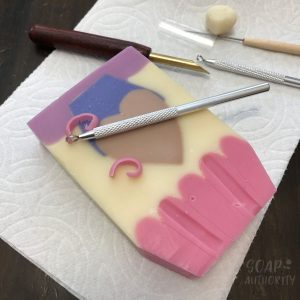
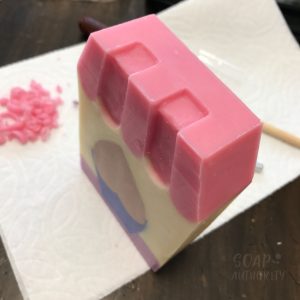
Box tape was also used to hold the soap in place for the canopy stripes since I carved them up and around the top of the bar. When adding the wet soap, I used quart freezer bags with the tips cut off for better control.
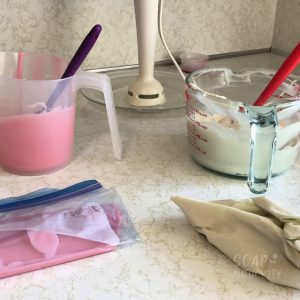
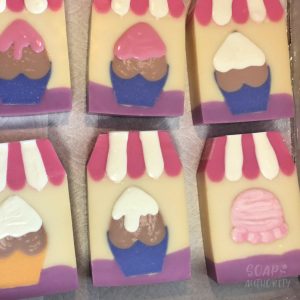
The ice cream soap was a bar that ended up without a cupcake embed on either side, so that little cutie was carved and inlaid. For the scoop of ice cream, I mixed white and pink in a bag to make it look more realistic. It is the only bar I did not plane flat, because it looked too darn cute the way it was.
Soap Dough Inlays
After pouring the frosting and canopy inlays, I waited 48 hours before planing them flat and adding the soap dough decorations and kawaii faces. There were some air holes that didn’t get filled with soap, so I had to fix those.
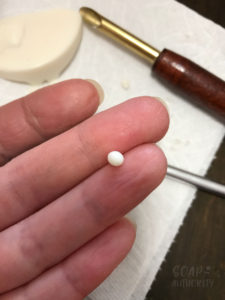
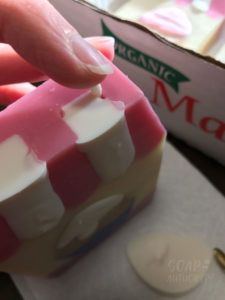
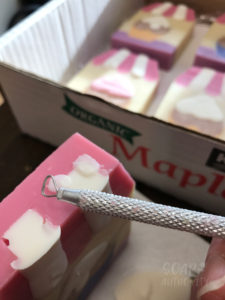
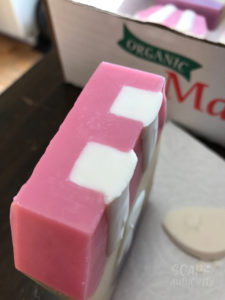
The Sculpey clay dotting tools worked great for making sprinkle and dot indents. For leveling them off and removing any extra soap, the scraping tools (not sure that’s what they are called) were amazing.
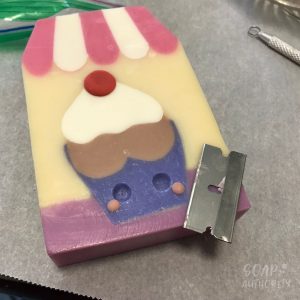
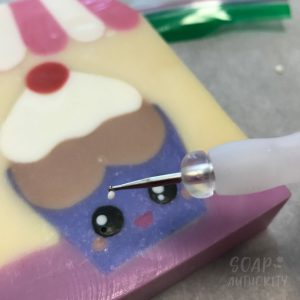
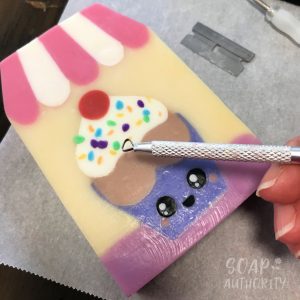
To help the soap dough stick in the holes and stay there, I used a small paint brush moistened with water in the carved cavities before squishing in the soap dough.
What I liked best about making this kawaii cupcake inlaid soap:
It was really therapeutic and relaxing to sit and carve the soap. This took me back to my childhood schooldays where I would sit in art class and just zone into my projects. I had so much fun playing with soap dough and letting my creativity flow.
What I didn’t like so much:
This was unbelievably time consuming and tedious. Like a dummy, I was hoping to get all 11 bars done, but only had time for four. Dust, dirt and fuzz are totally annoying. My family almost starved and went into crisis mode. Haha!
Tips
1) Sculpey clay tools are a must for this project.
2) Making patterns to trace around prevents screw ups.
3) Packing tape stuck to the soap works really well to help keep newly poured soap where you want it.
4) Save back parts of all the colors you pour when making your soap, keeping them in air tight containers. You may need the extra soap to fill air holes, imperfections and accidental fingernail dings!
5) Let your fragrances assist in your design process. They can be used for colors and help your soap set up faster when you need it.
6) If your soap dough is too sticky to work with, let it dry out for 10-15 minutes before trying to work with it again. If it feels to hard, knead it for a bit to see if it will soften.
7) Make sure you have more than enough soap for each pour. I came up short twice and it nearly broke my design!
A Special Thanks To
Amy Warden at Soap Challenge Club for all of her hard work putting together the inlaid soap challenge. It’s such a great way to meet new friends and push your skills to the next level.
Carmen Iclodean at Earth’s Raw Beauty for sharing her inlaid soap techniques and inspiring creativity with all of her beautiful designs.
Recipes Used
Old Faithful from the Soap Queen
Lard Soap Dough from Sorcery Soap

These are so adorable!! 💖 I love how you break it down to show your process. Now the family can eat again! Lol.
Thank you, Kathleen! I’m sure the family would prefer I created art with food instead of soap at this point. 🙂
These are amazing and so darn cute! Thank you so much for sharing your process ☺️
Thanks, Belinda! You are welcome. And it was a process, that’s for sure! A long, loooooong process. Hahaha! 🙂
Really incredible design work, Jaimie! I’m enamored by the genius embeds you created with a simple heart mold and some sculpted soap! This is definitely a labor of love – and you’ve obviously gone the extra mile to make sure all your air holes are filled and the design is perfect.
Thank you so much, Amy! I am trying to break myself of the habit of constantly buying new molds, so I was forced to use what I had. If feels like creativity blossoms more fully when there are constraints in place.
I really love the cute factor of your design! Well done!
Thank you, Lynette! I appreciate you stopping by. 🙂
I cannot get over how adorable these are, let alone how perfectly executed they are! You did an outstanding job!
Thanks, Debi! I totally love the floral vases you did as well. They are tiny little masterpieces!
Your soap creation is amazing!. Also, I really appreciate all the pictures of the process you included. What a detailed and colourful result! My girls are totally into Shopkins. They would love these soaps, too :).
Thank you, Conny! I’m glad you like it. My daughter loves the Shopkins, too! That must have been my inspiration on a subconscious level. They are pretty cute. I guess us girls never outgrow that kind of stuff. 🙂